Hello there! Today I am sharing with you a few of my tips and tricks for hand lettering. As you probably know, I have opened an Etsy shop featuring hand drawn typography prints (here) and I love absolutely anything hand lettered! Here are a few simple steps that you can do to get started creating your own hand drawn designs!
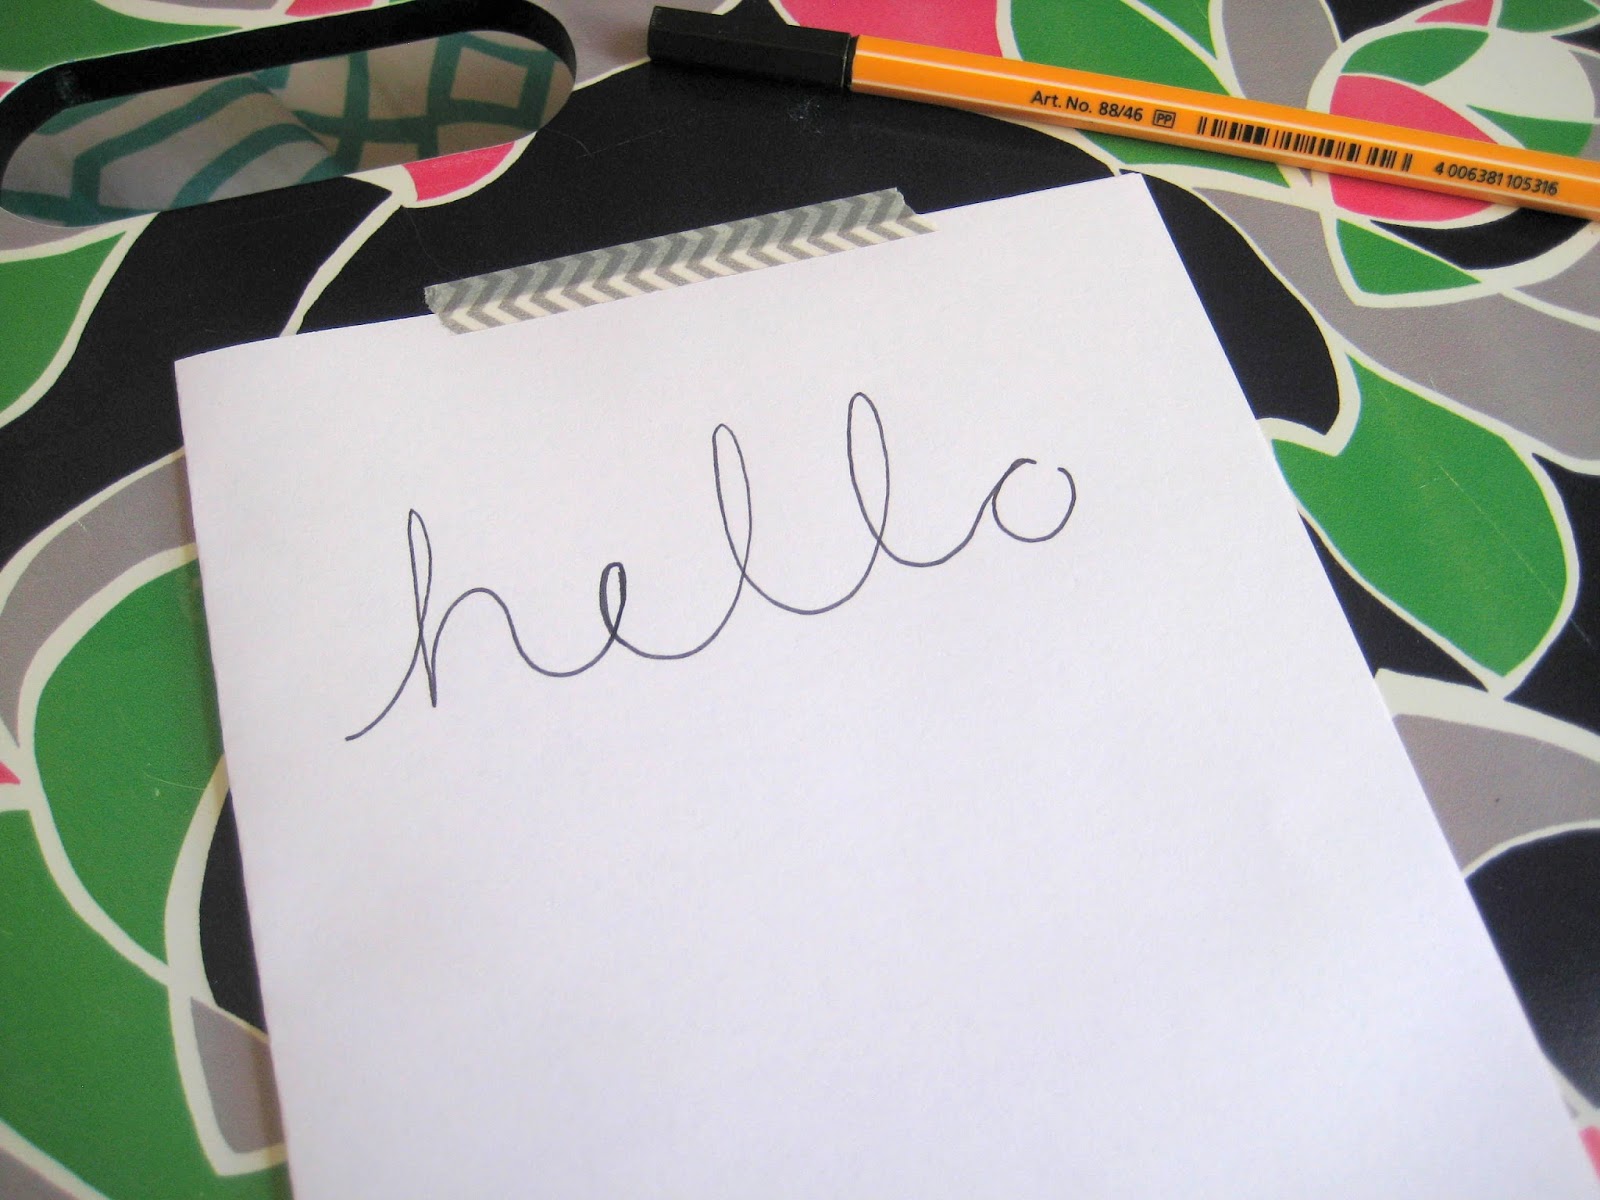
Start by writing out your word in simple cursive (you might have to think back to third grade for this one, or visit this site to refresh your memory).
After you have written your word, you need to identify the down stroke of each letter. This is the stroke (line) on each letter where you are moving your pen from top to bottom. The image above has purple arrows that indicate the down stroke in each letter of the word "hello".
Once you have located the down stroke, emphasize it by "thickening" it with another stroke from the top of the letter to the bottom, closing it off at both ends.
Once you have emphasized your down strokes, embellish them by filling them in with stripes, dots, a solid fill or even just leaving them blank. This is where you get to be really creative and fun!
Remember that you can use many different pens, pencils and paints to achieve different looks.
General tips and tricks:
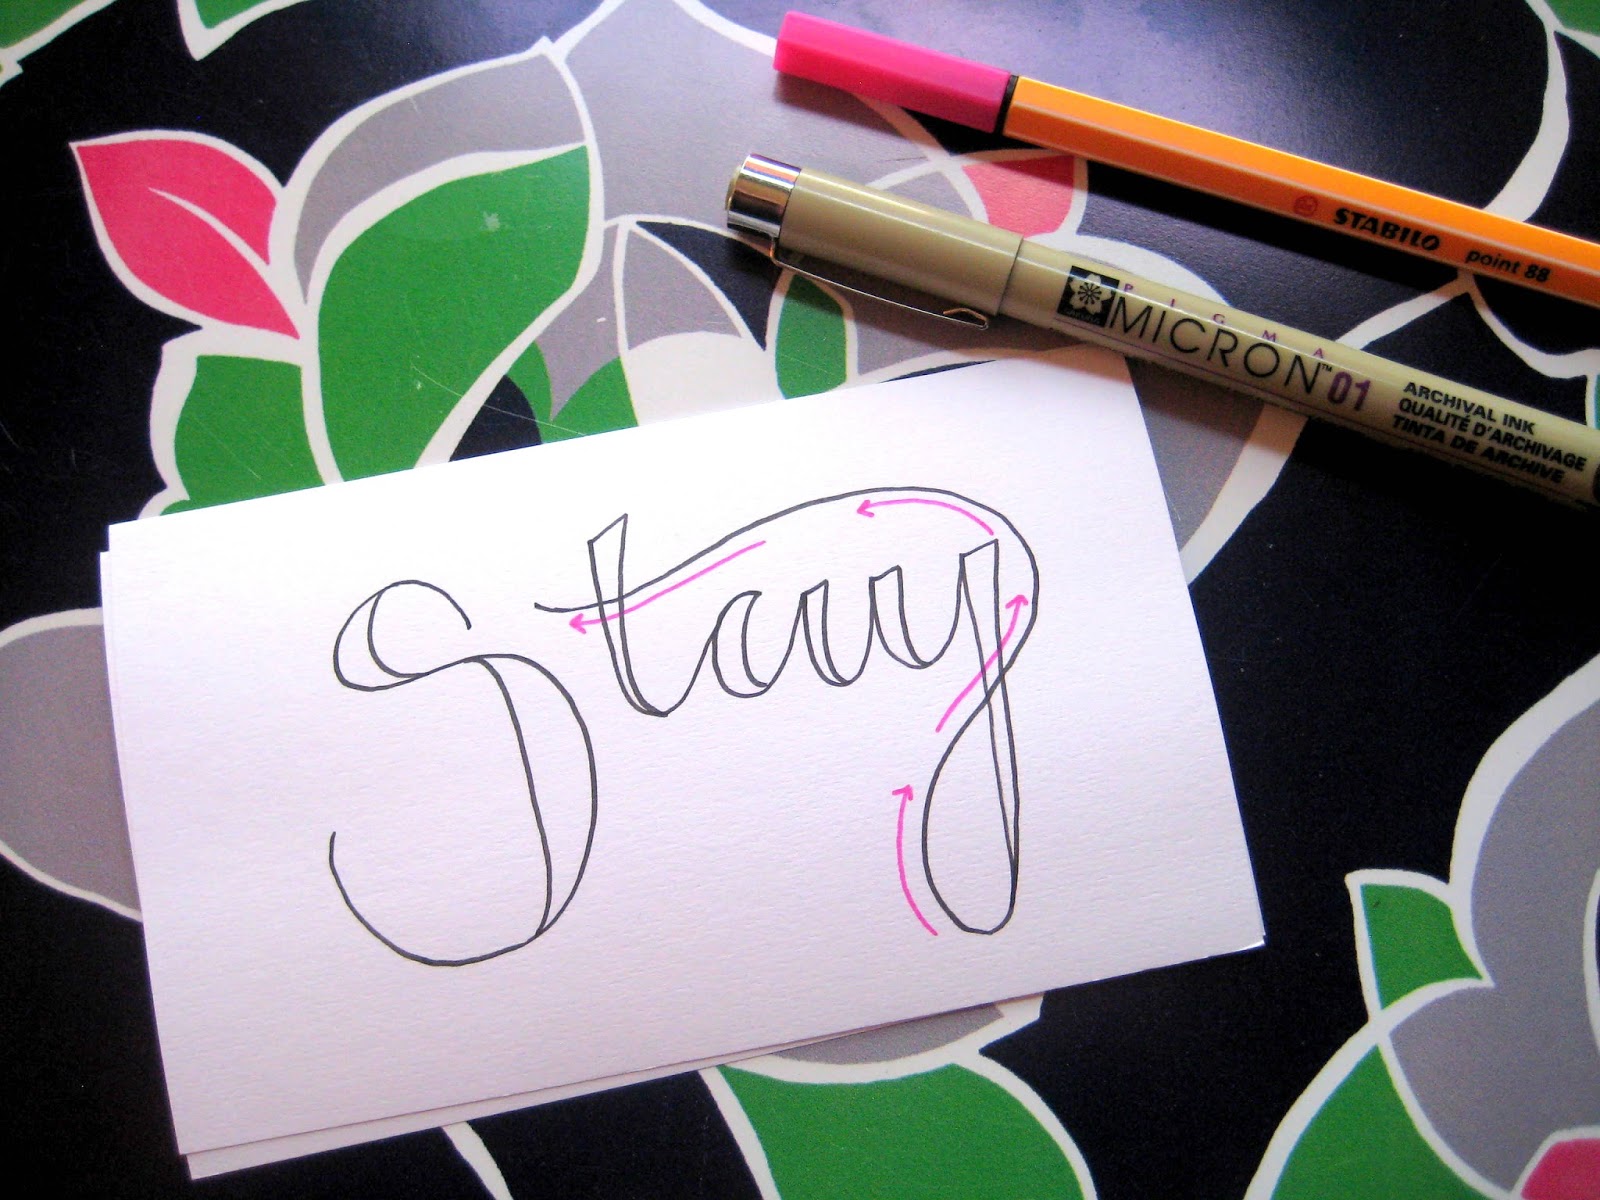
For words that contain the letter T and a letter like J,G,Y or Z at the end, I like to use the tail of the last letter to cross the T in the word. The image above shows the direction of the tail as it winds over the top of the word and crosses the T.
Another little thing that I like to do to add detail to the letters is create another down stroke that runs parallel to the letter's original down stroke. I think that this sometimes adds a bit of a 3D look to the letters, and makes them look a little more finished.
My last trick is to use a light (H level) pencil and draw out a small pattern or shape for my word to follow. Here I have drawn a wavy line...
... and then wrote my word following that line!
I hope these tips and trick serve as a little inspiration for you to continue, or perhaps begin, to develop your hand lettering skills. Don't forget to mix and alter fonts to fit your liking, and even add a little color to your designs to liven them up. If you need a little hand lettering inspiration, you can follow my Pinterest board here for ideas.
Thanks for reading, and as always, let me know what you come up with!


Such great tips! I've been wanting to start developing my hand lettering skill, and this is the best post I've seen!
ReplyDeleteHayden
mylifeashayden.blogspot.com