Sunday, December 28, 2014

Happy New Year!

What a year it has been! I cannot believe that 2014 is already almost over. It has been a wonderful year, and I have grown so much. Its hard to believe that a year ago today I had not even begun my little lettering and design business.

To celebrate and say thank you to you all for your unbelievable support, I have a freebie for you! Download, fold and trim the cards and give them your friends, or pin the print up on your bulletin board  to get you excited for the year ahead!


Click here to download and print the Happy New Year card
Click here to download and print the Champagne Glass card
Click here to download and print the Champagne Glass print

Tag me on instagram @sarahanncamp or comment below and let me know how you are using your freebies!

Happy New Year! :)

Sunday, December 21, 2014

Printable Christmas Gift Tags

Well, as promised, I already have a freebie for you guys! This one goes out to you last minute shoppers and gift wrappers. Download em, print em, and wrap em! 


Click here to download and print your new gift tags! 

Comment below or tag me on instagram @sarahanncamp so I can see your cute packages!

Changes Ahead!

Hey there strangers! It's been a while since I've posted anything on here, as I have been busy with school, interning, and just everyday life! I am hoping back into the swing of things with blogging soon though, and have decided to make some changes:

You may have noticed, if you were a past reader, my new header and the removal of much of the content previously posted on this site. For now, I am converting this blog from a "do all, make all" resource to a more personal journal/informational resource for all things lettering and design! I feel that I have finally found my true "niche" in this and have decided to pursue it wholeheartedly! My small design "business" is starting to grow and I would love to be able to document my projects and progress for you all to see. I hope to post more of my individual work, products I like, things and people that inspire me, lettering tutorials, and most importantly, cool free stuff for you guys!

I hope you enjoy getting a peak at my lettering and design journey, and I'll talk to you all soon!

Sarah

Sunday, June 15, 2014

Father's Day Freebie!

Happy Father's Day! Did you forget? No worries, I've got you covered! ;)
\

Click here to download and print the card
Click here to download and print the 8 1/2 by 11 print


Sunday, May 11, 2014

Mother's Day Freebie


Happy Mother's Day!!

I am excited today not only because I have the best mom ever, but also because I have a freebie for you guys to download and print! 


Print at full size and frame it, print it on a half of a sheet and fold it into a card, sneak onto her computer and set it as her desktop background...  so many possibilities, just be creative!


Click here to download the JPEG file.
Click here to download the PDF file.

Friday, February 28, 2014

Hand Lettering 101


Hello there! Today I am sharing with you a few of my tips and tricks for hand lettering. As you probably know, I have opened an Etsy shop featuring hand drawn typography prints (here) and I love absolutely anything hand lettered! Here are a few simple steps that you can do to get started creating your own hand drawn designs!


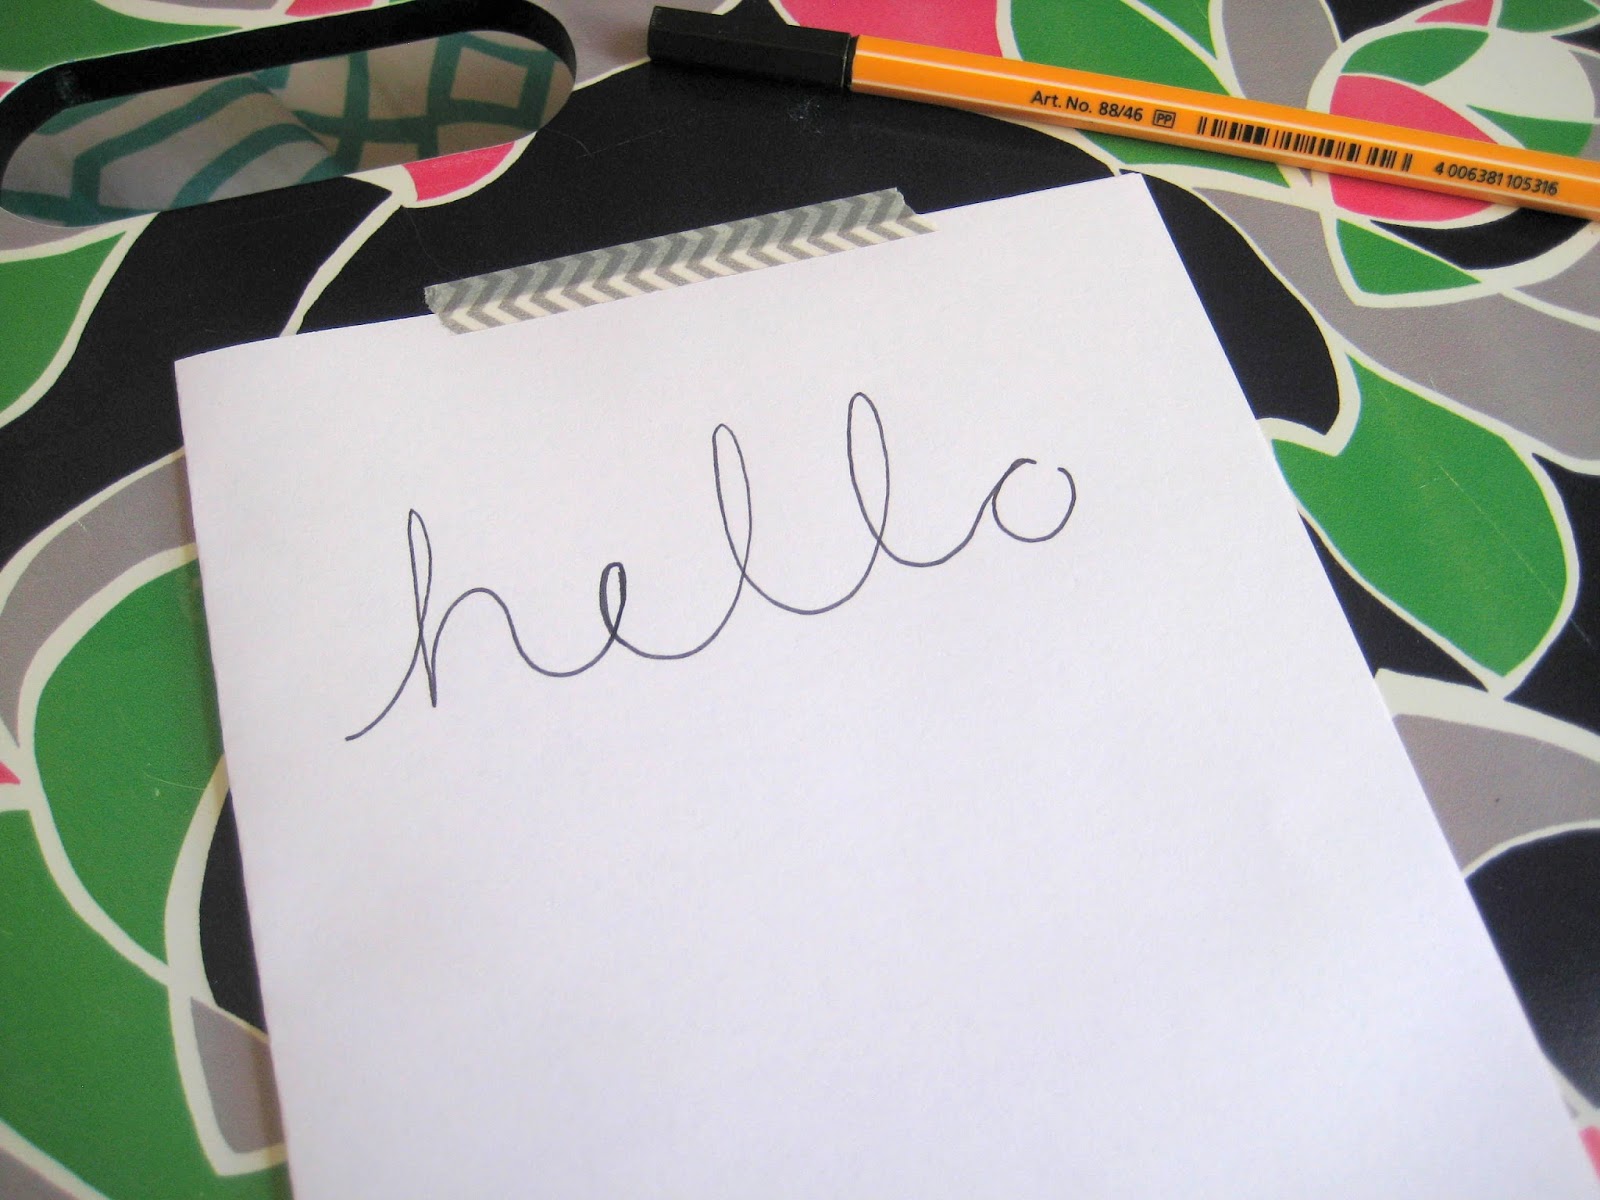
Start by writing out your word in simple cursive (you might have to think back to third grade for this one, or visit this site to refresh your memory). 


After you have written your word, you need to identify the down stroke of each letter. This is the stroke (line) on each letter where you are moving your pen from top to bottom. The image above has purple arrows that indicate the down stroke in each letter of the word "hello".


Once you have located the down stroke, emphasize it by "thickening" it with another stroke from the top of the letter to the bottom, closing it off at both ends.


Once you have emphasized your down strokes, embellish them by filling them in with stripes, dots, a solid fill or even just leaving them blank. This is where you get to be really creative and fun!


Remember that you can use many different pens, pencils and paints to achieve different looks.

General tips and tricks:


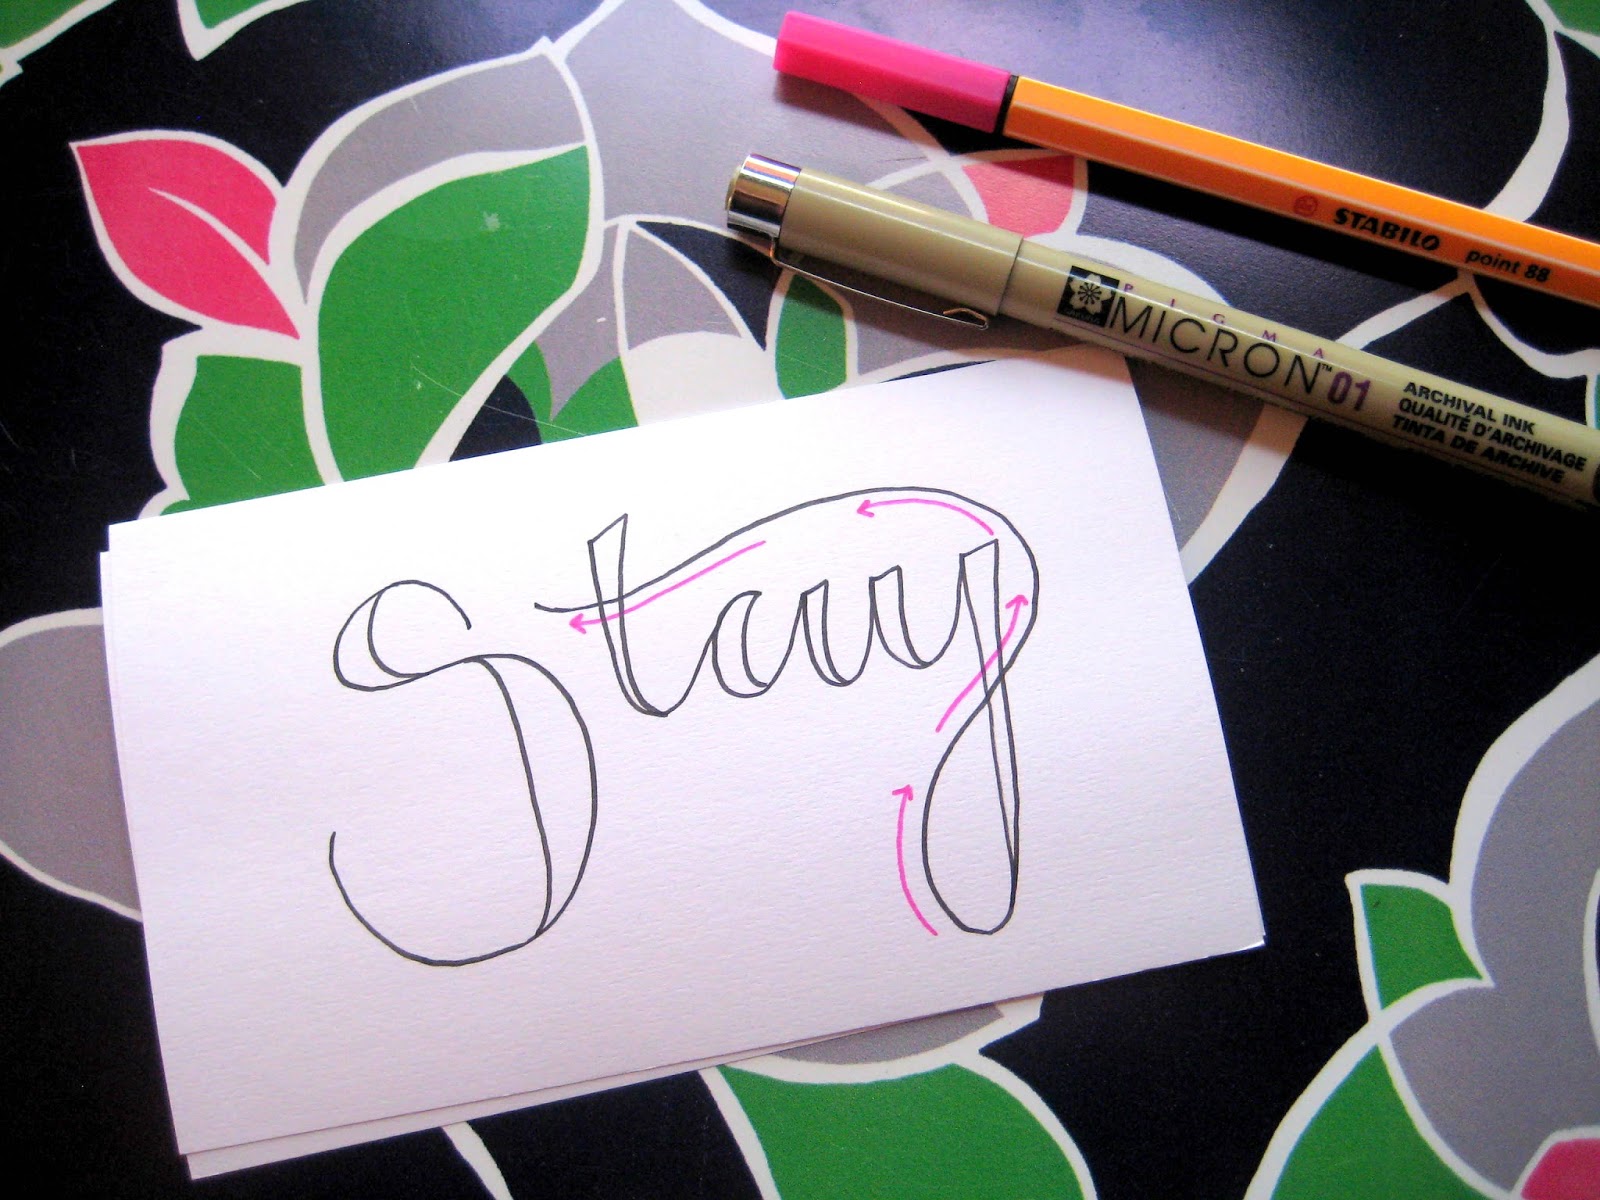
For words that contain the letter T and a letter like J,G,Y or Z at the end, I like to use the tail of the last letter to cross the T in the word. The image above shows the direction of the tail as it winds over the top of the word and crosses the T. 


Another little thing that I like to do to add detail to the letters is create another down stroke that runs parallel to the letter's original down stroke. I think that this sometimes adds a bit of a 3D look to the letters, and makes them look a little more finished. 


My last trick is to use a light (H level) pencil and draw out a small pattern or shape for my word to follow. Here I have drawn a wavy line...


... and then wrote my word following that line!


I hope these tips and trick serve as a little inspiration for you to continue, or perhaps begin, to develop your hand lettering skills. Don't forget to mix and alter fonts to fit your liking, and even add a little color to your designs to liven them up. If you need a little hand lettering inspiration, you can follow my Pinterest board here for ideas. 

Thanks for reading, and as always, let me know what you come up with!

Free fonts!

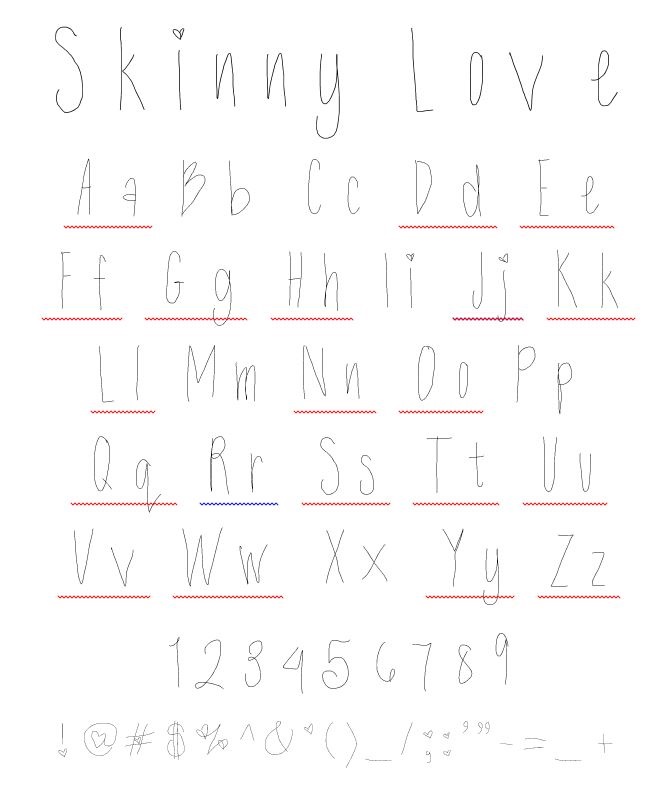
I've got another freebie for you today! This week I whipped up a couple hand drawn fonts, just for fun. They are super cute and simple, and can be downloaded very easily onto your computer. Have fun with them!